The New Year brings changes in Salesbook. We are introducing a refreshed user panel layout, which will be even more intuitive. The changes relate to the visual layer and functionality. Check what new features we have prepared this time.
User list
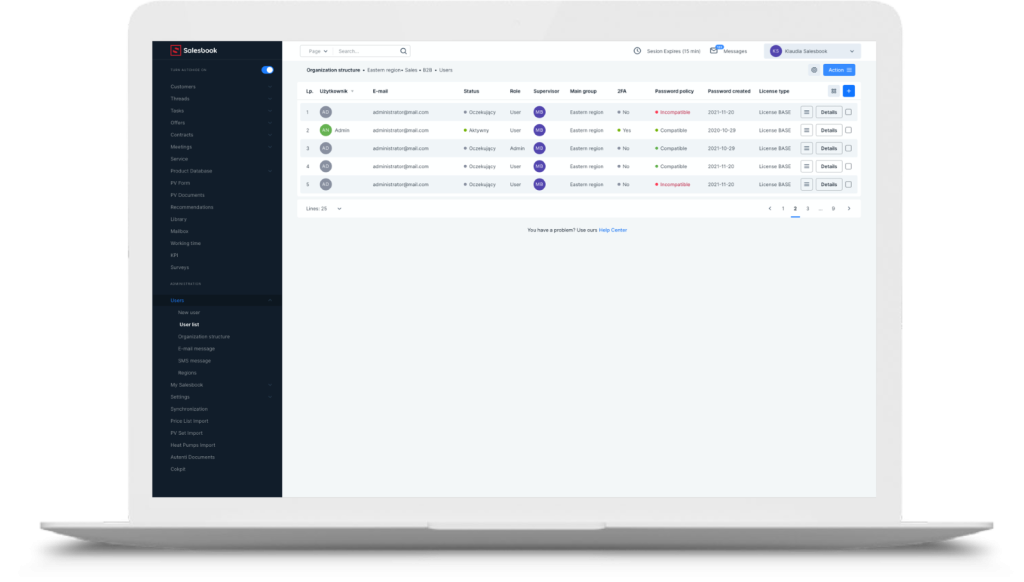
The first changes are already visible in the tab with the user list view. The columns in this window can be individually adapted to your needs.
To do this, just click the plus icon on the blue background in the upper right corner and choose which columns you want to be visible and which ones to remain hidden. This allows you to customize the entire table to your individual needs.
From December 2021, two-step verification (2FA) is available for all Salesbook users. Therefore, one of the columns shows whether the selected account uses this function.
Information about 2FA status for individual users can help keep your data secure.
All options related to the operation of a specific user account are now gathered in the hamburger menu on the left side of the “Details” button.
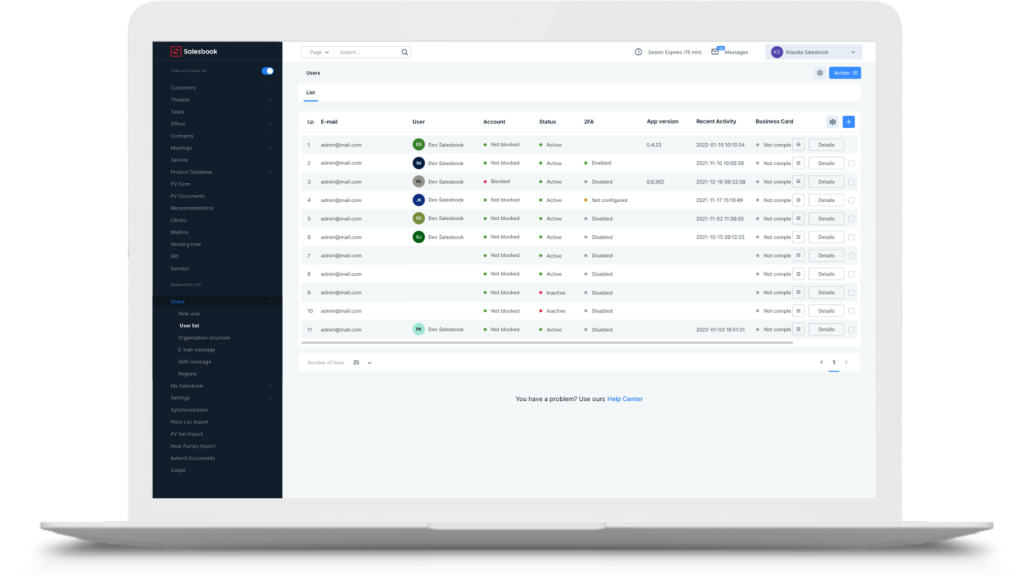
Pict. 1 List of users visible in Back Office.
User panel – new tabs
The user panel has been divided into tabs that organize the data placed on the user account. All this so that you can reach the necessary information or edit your profile even faster. You will find here, among others the option to change the password, as well as the settings for the 2FA two-factor login.
User Account
The User account tab consists of two sections: Account status and Login data. In the first section, we can change the status of the user’s account from active to inactive, block access to the system or restore this access by changing the status from inactive to active.
In the Login data section, you will find an option to reset the user’s password.
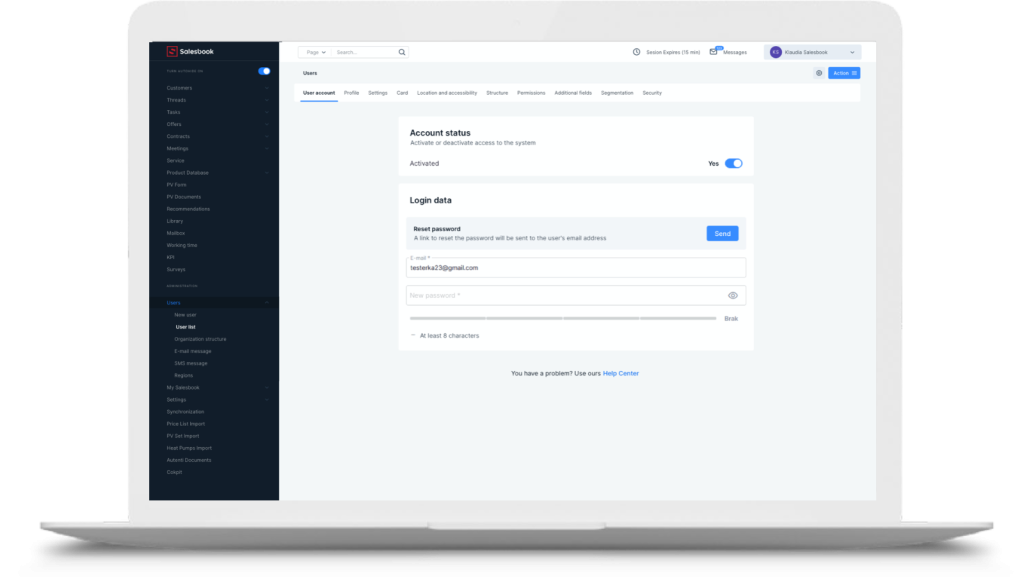
Pict. 2 User account tab
Profile
The Profile tab contains the user’s basic personal data, such as: name and surname (mandatory information).
We can also supplement the position occupied by a given user, home address and telephone number (optional information).
In the next section, we can mark the gender, date of birth, marital status and education.
At the end there is a field where we can add our user’s profile picture.
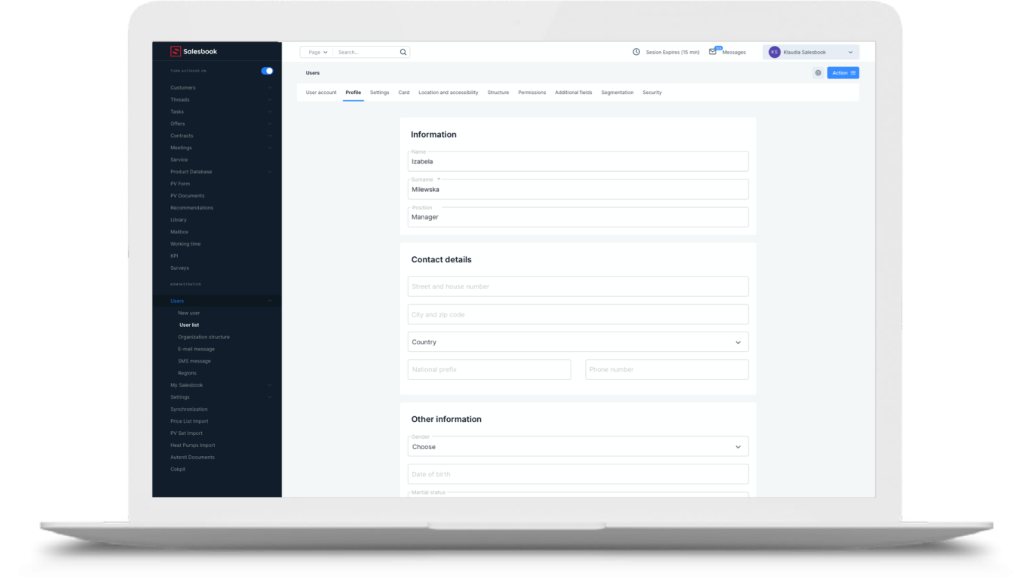
Pict. 3 Profile tab
Settings
In the Settings tab, you can choose the color of the user to be marked with in the appointments calendar view.
Secondly move to the next section, you can set region-specific values, such as the date and time format, and select the appropriate time zone in which the trader works.
In the Settings tab you can also select whether a given user should be included in the reports. We also provide an option called Blind copy of outgoing e-mail messages (BCC), which allows you to enter an additional e-mail address to which copies of messages received by a given user will be sent.
It is also possible to create a personalized e-mail footer and select the module that will open automatically first after starting the meeting.
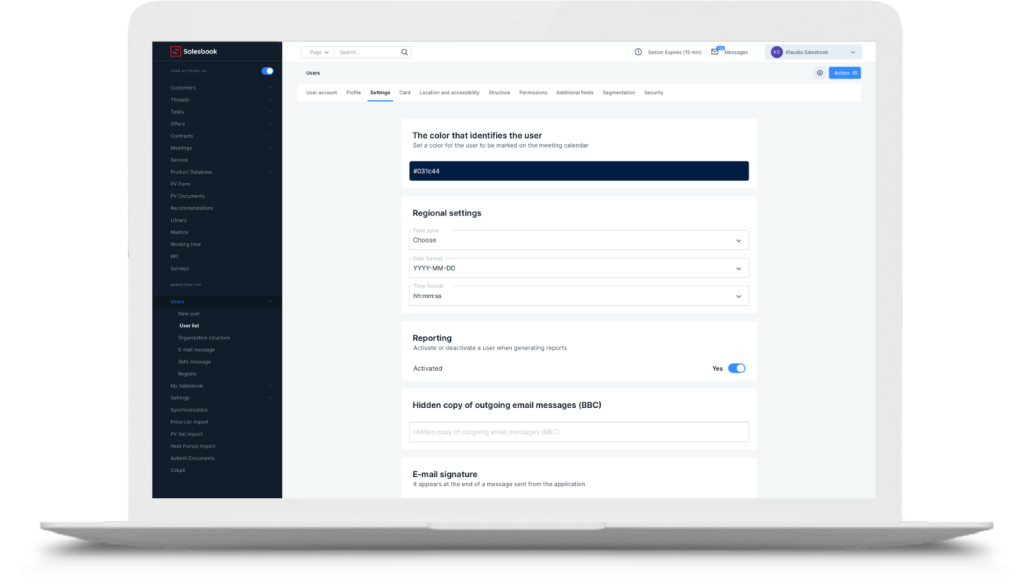
Pict. 4 Settings tab
Card
The business card should contain a short note about the user. Once approved, it will be displayed in the tablet app in the About Me module.
Additionally, in the Business card tab, you can add links to social media directing you to the user’s (sales representative) profile and add selected files.
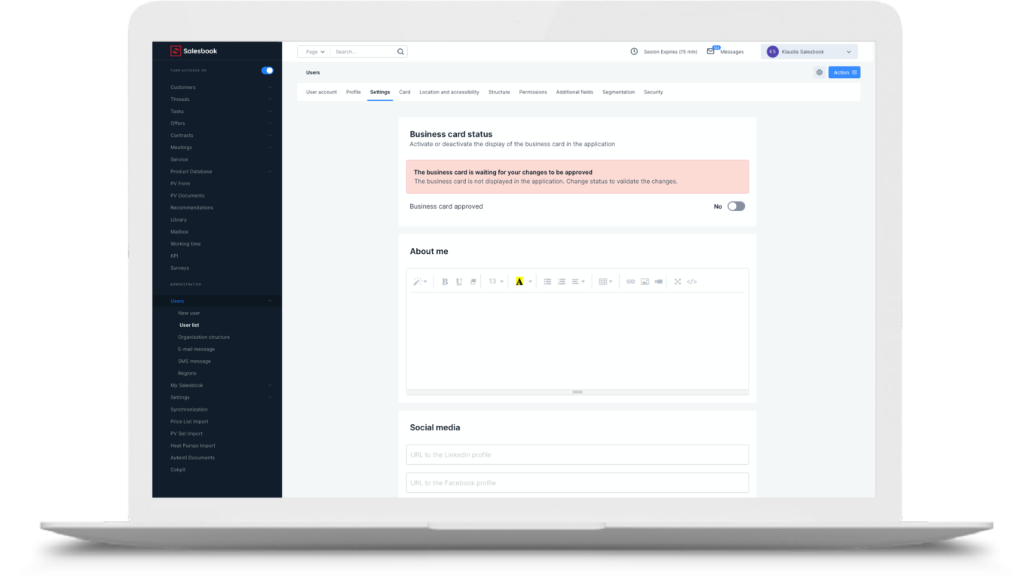
Pict. 5 Card tab
Location and accessibility
In the Location and Accessibility tab, you can add the address from which the sales representative starts working.
It is enough to mark in which regions the seller is available, on what days and at what hours he works.
Additionally, in the One-time unavailability section, you can plan a vacation or other single unavailability of a selected salesperson.
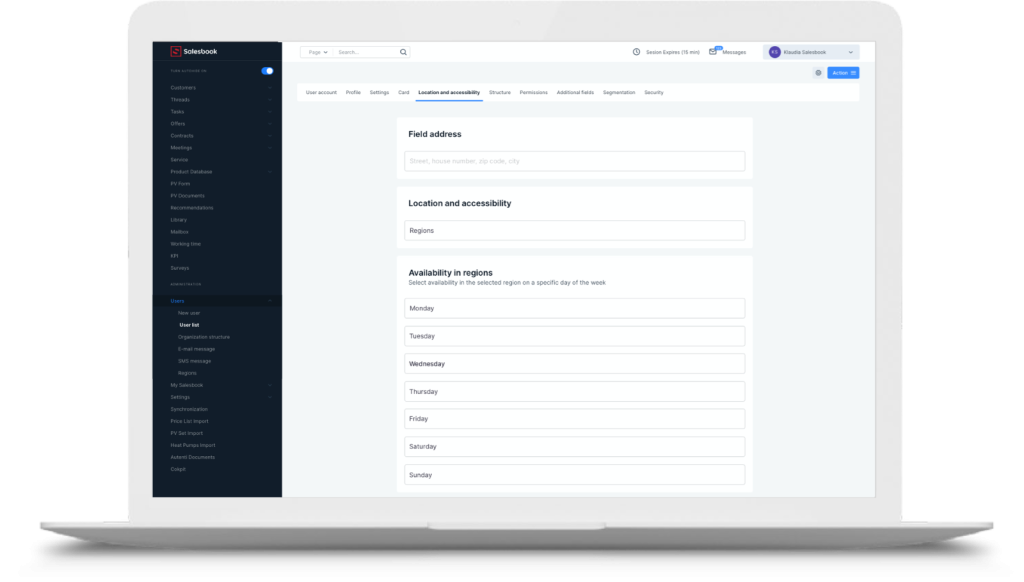
Pict.6 Location and Availability tab
Structure
In the Structure tab, assign the user to a selected group, such as the Sales Department.
Similarly, you can also assign the user to other groups in the Additional groups field. Define in the line below whether the user is a salesperson or manager.
In the last field, select the manager for the selected sales representative. Click on the Manager field and a list of available users of the Manager account type will pop up.
Pict. 7 Structure tab
Permissions
The role that the user has assigned in the Salesbook system, and thus the scope of the rights granted in the system, can be found in the Permissions tab.
Depending on the scope of permissions you grant to the user, the user will have access to various resources in the Back Office.
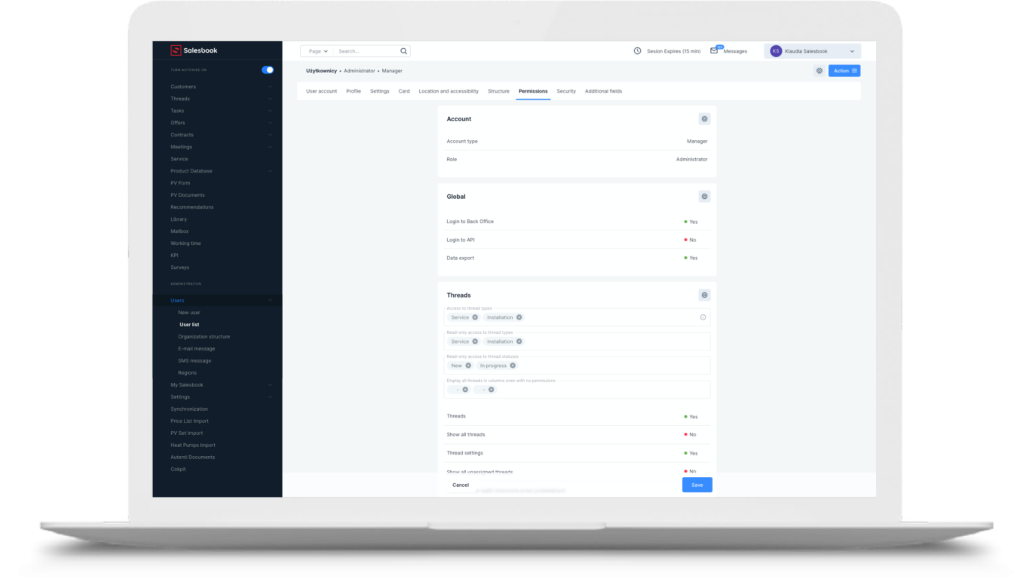
Pict. 8 Permissions tab
Additional fields
The Additional fields tab contains fields where you can store the data needed in your organization.
These are fields defined at the Administrator level.

Pict. 9 Additional fields tab
Security
The Security tab is only visible if you have enabled two-step verification in the main settings.
In the user profile, you can enable or disable this option for a specific account, if the main settings allow it.
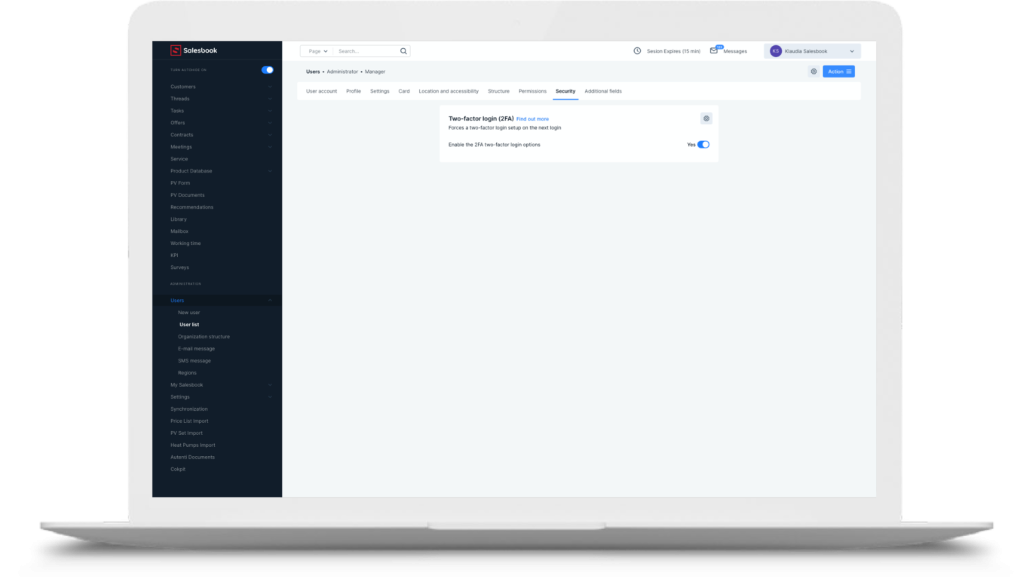
Pict. 10 Security tab